
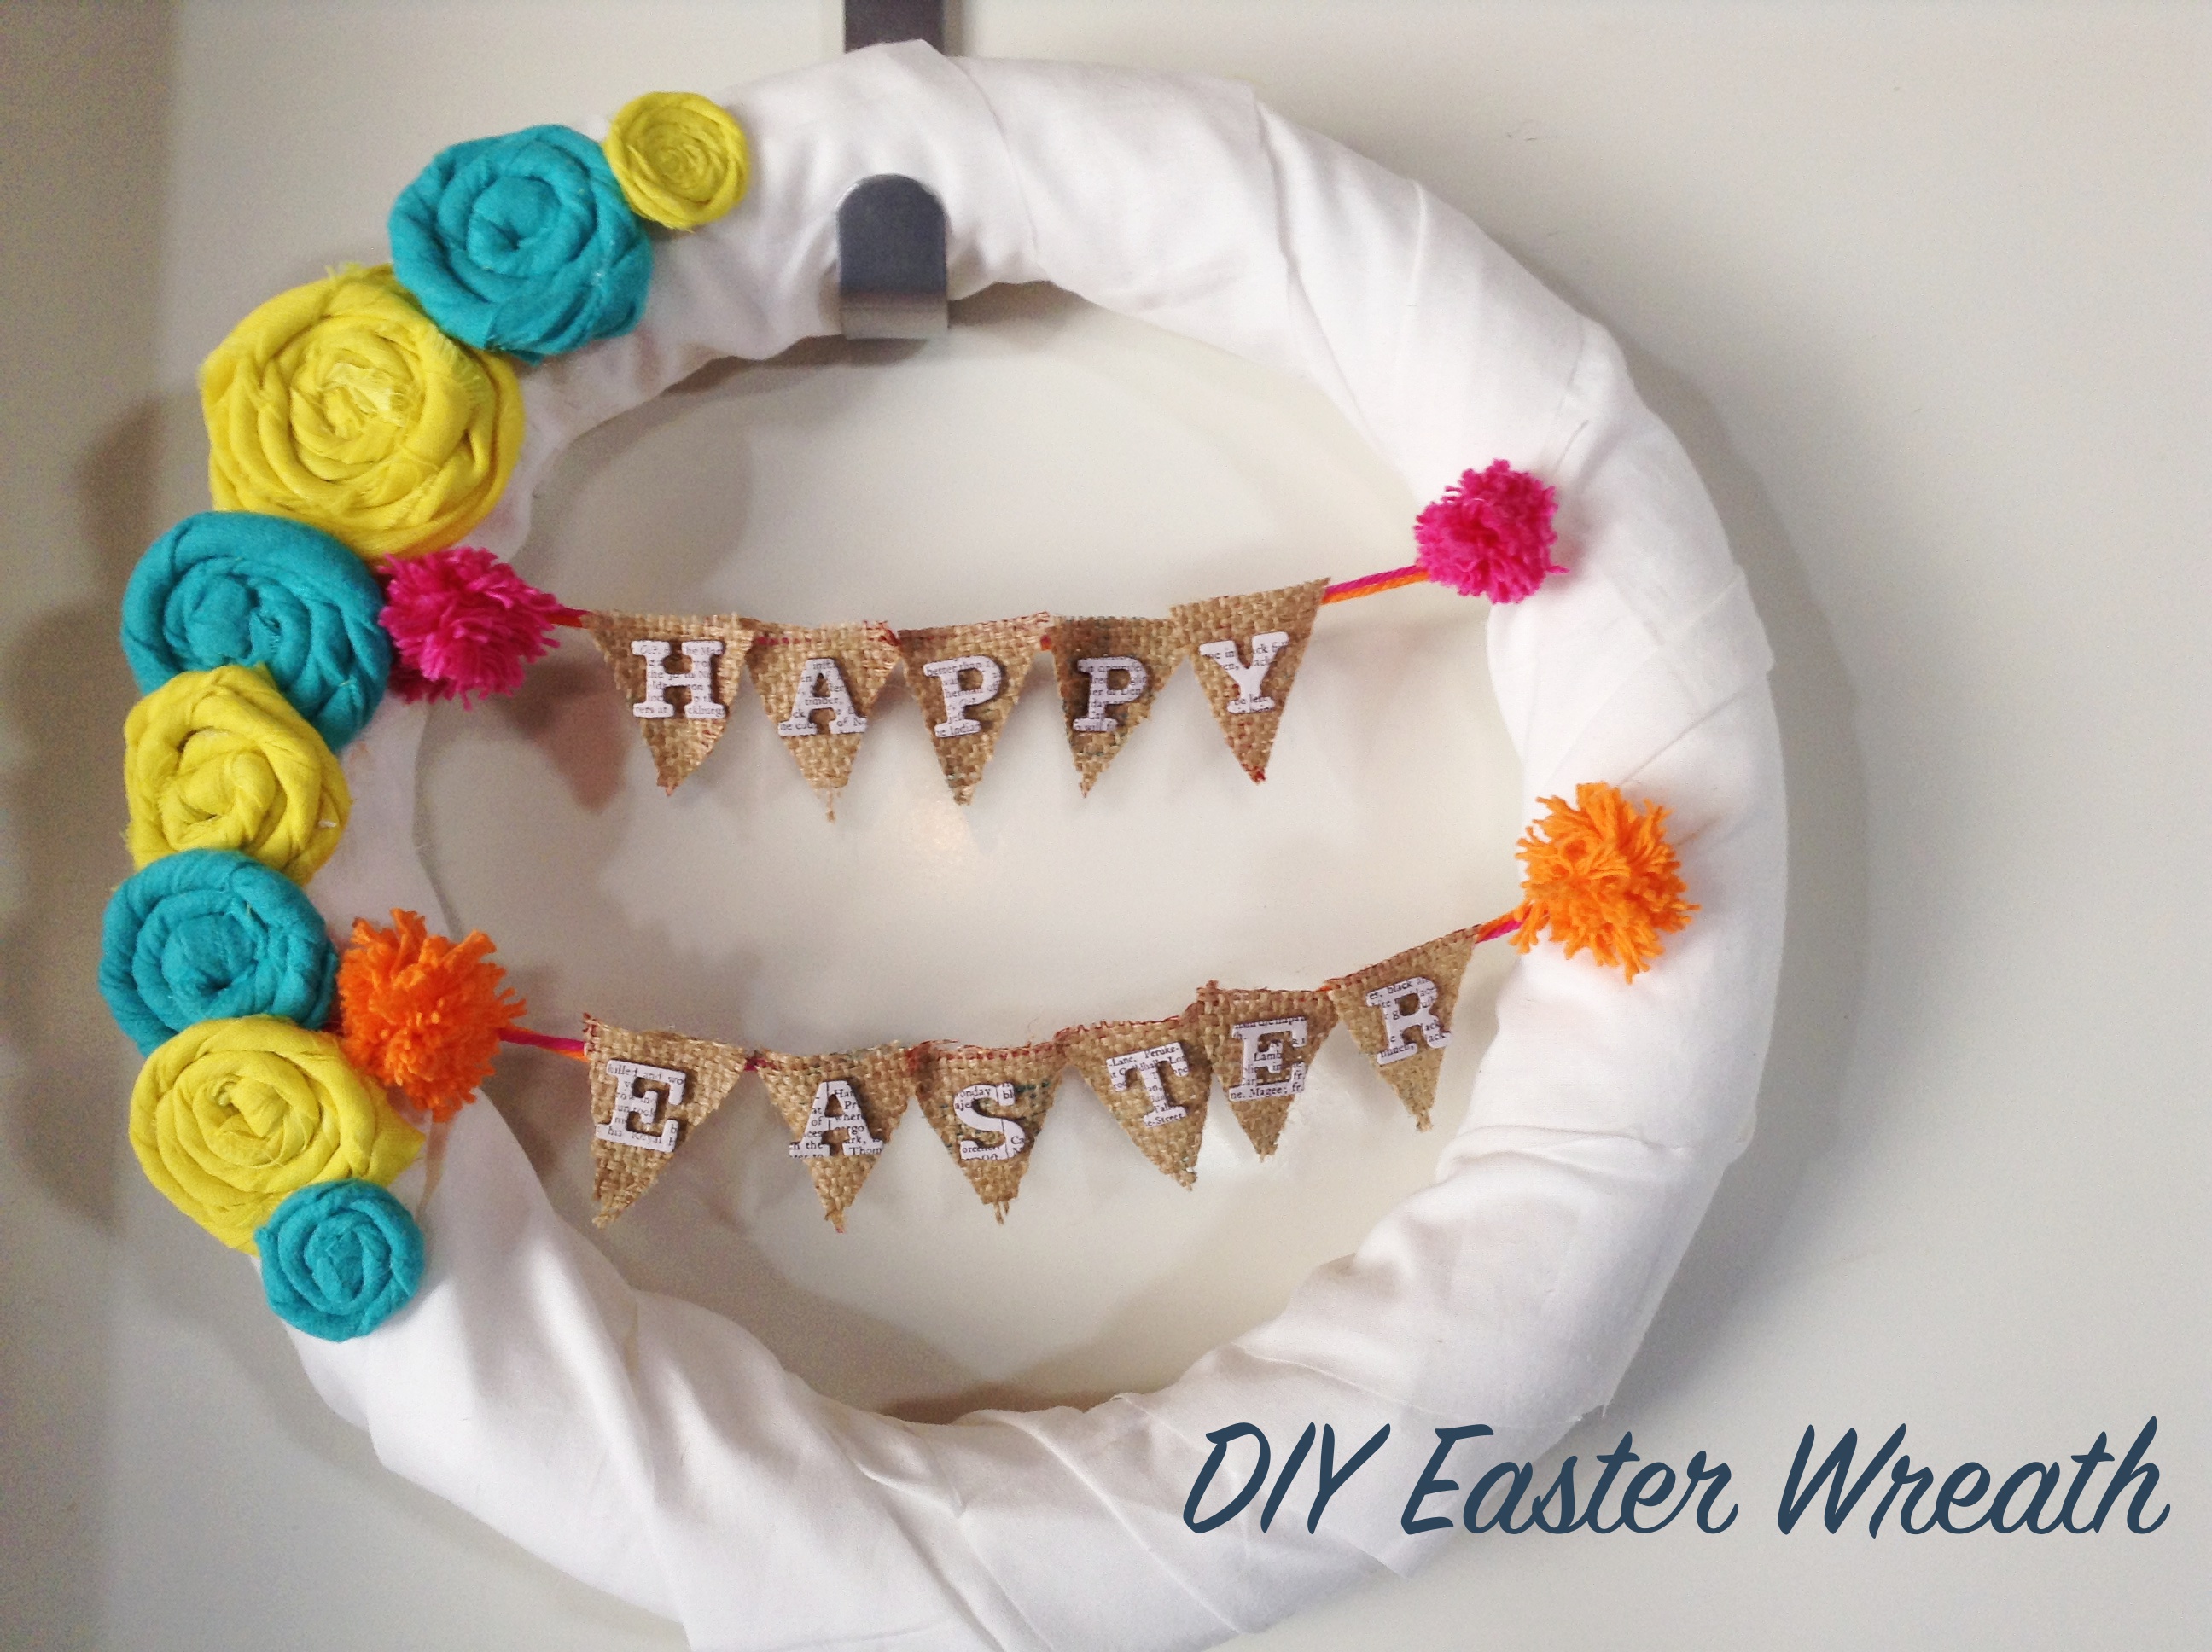
I loved making this wreath! I hope you enjoy this tutorial!
Here is how to make it…

Things you need:
I will show you how to make the banner below.
Styrofoam Wreath (I used a 14′ wreath)
Some small yarn pom poms (I used this tutorial.)
Fabric / I used white that I found in the sample bin at the store.

Cut your fabric. I cut it to 6ft x 6in but found that it was too short. Cut the fabric to measure 10ft x 6in.

Start wrapping your fabric around the wreath, overlapping the fabric as you go.


This is where it was too short so I just cut more fabric, to make sure I covered the wreath completely.
Here it is all covered up.

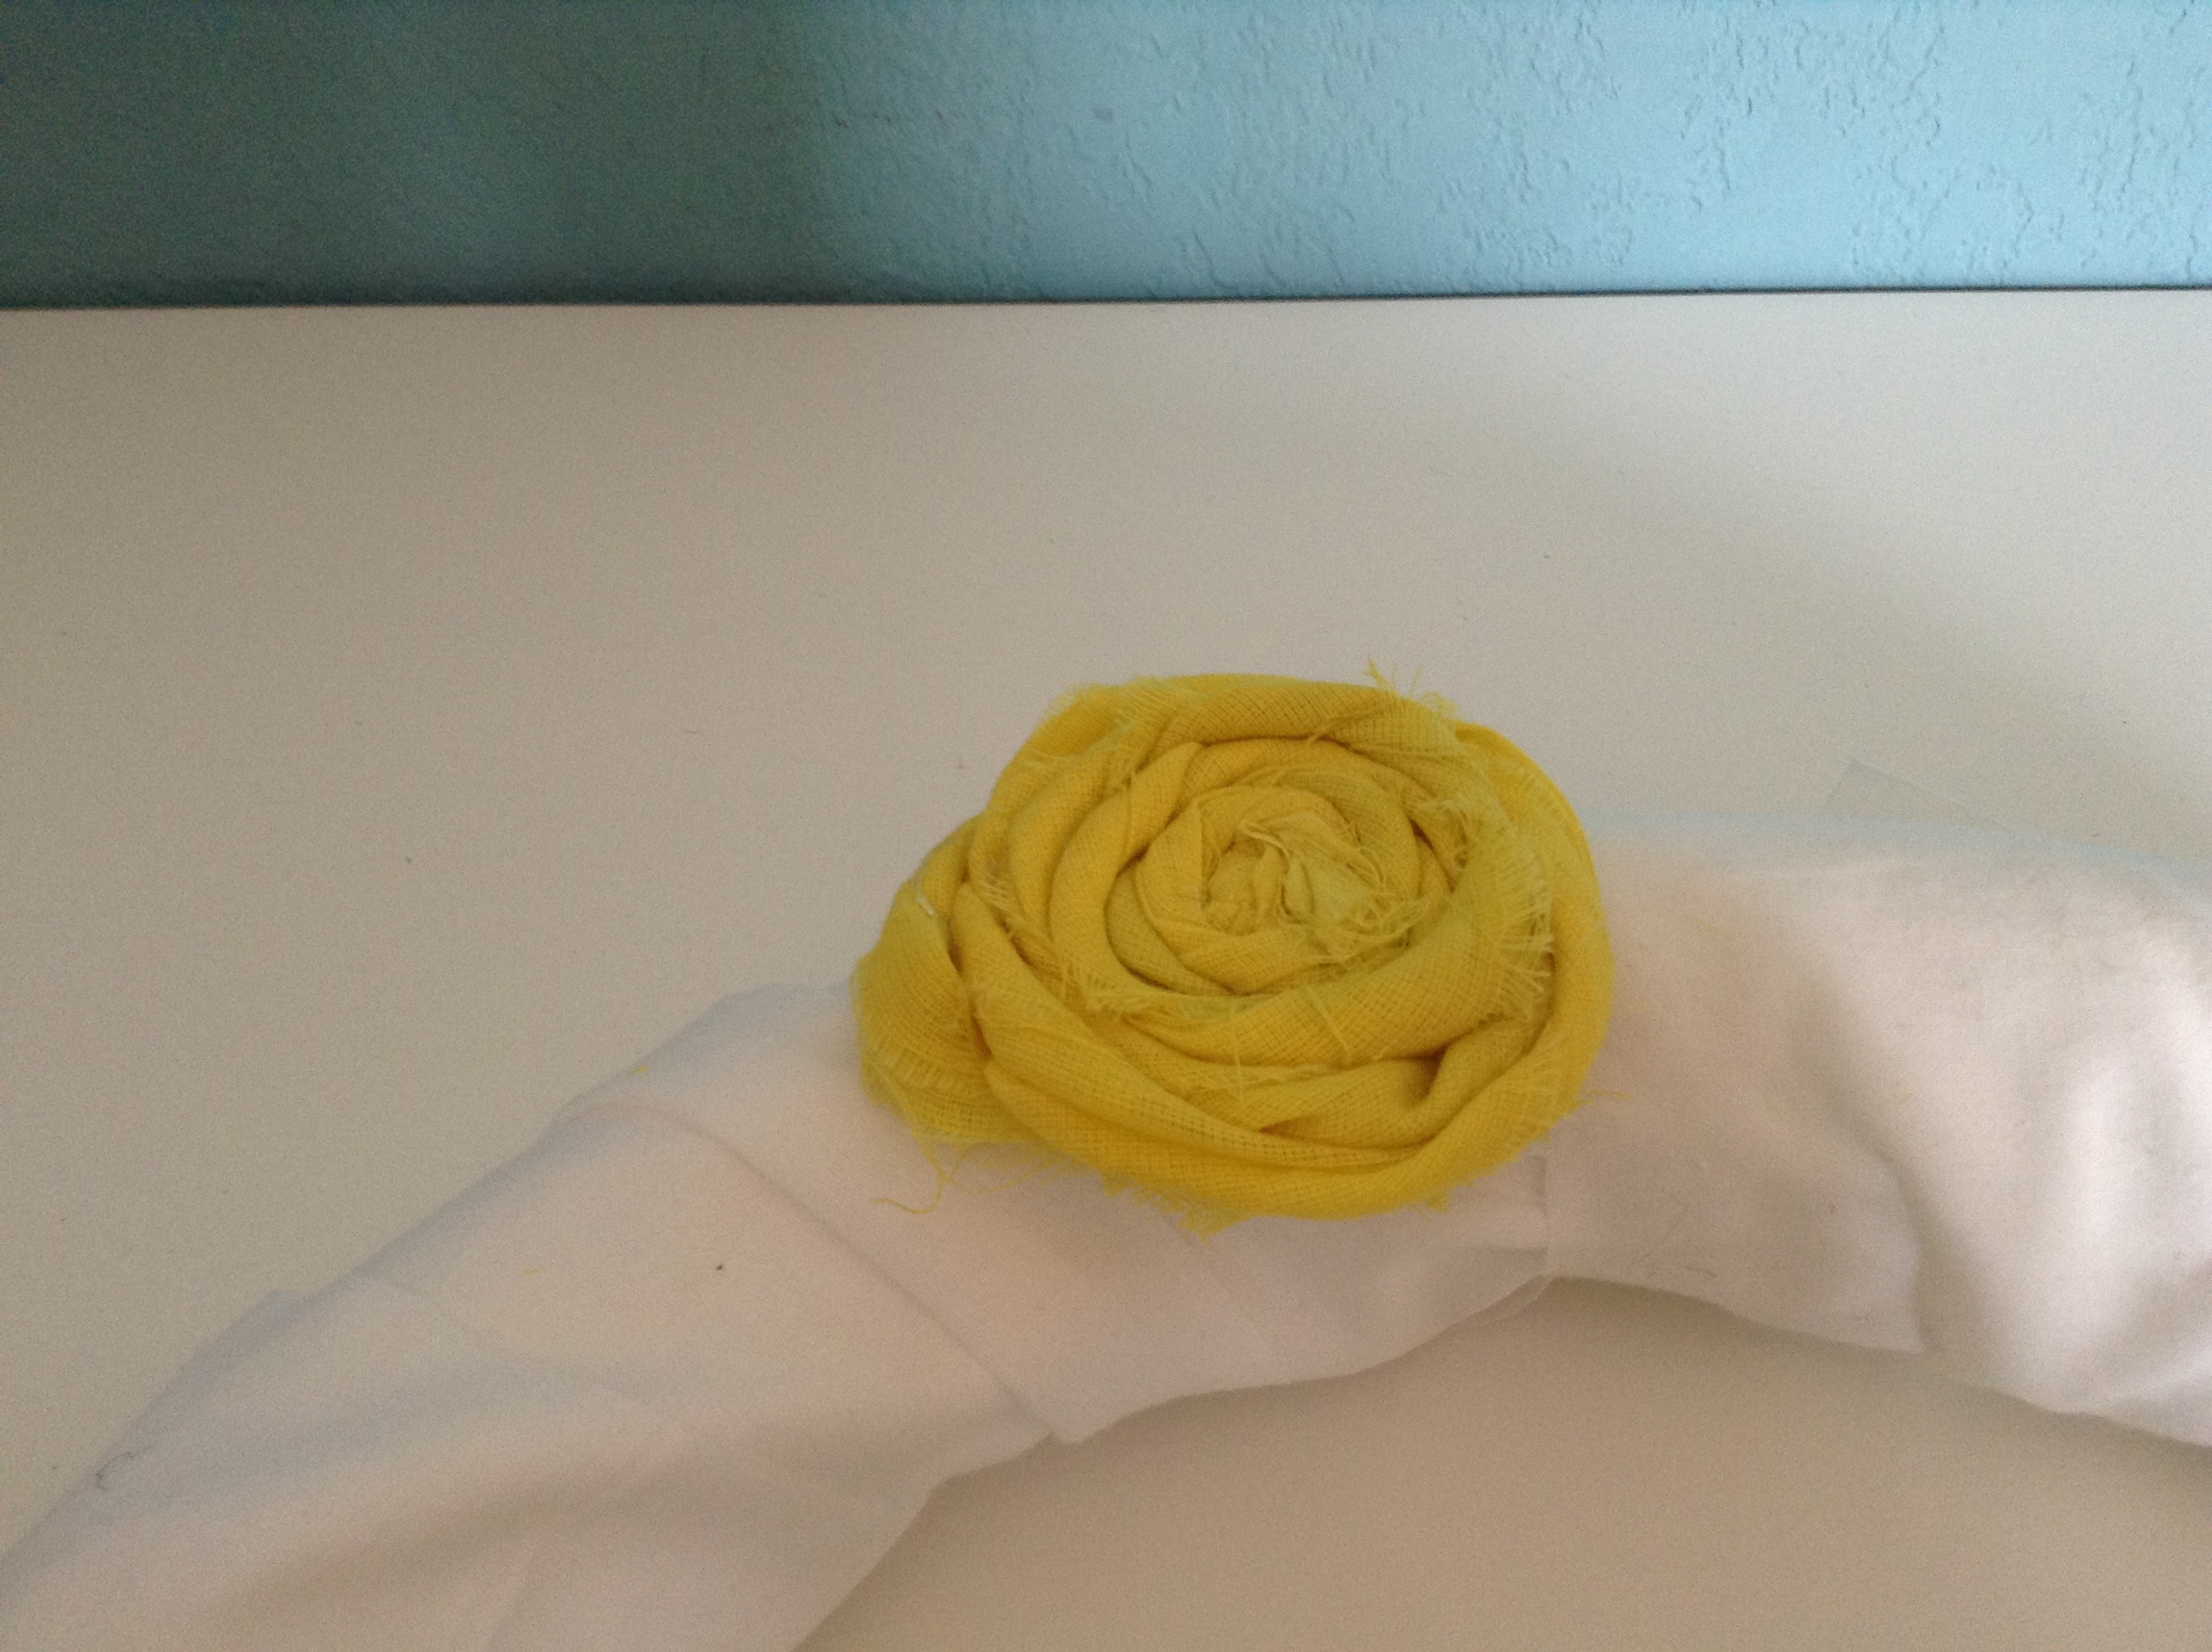
Next plan where you want your fabric roses.

When you are done planning, put a dot of glue on the back of the roses and attach them to the wreath.

Now for the banner:

Cut some burlap into triangles.

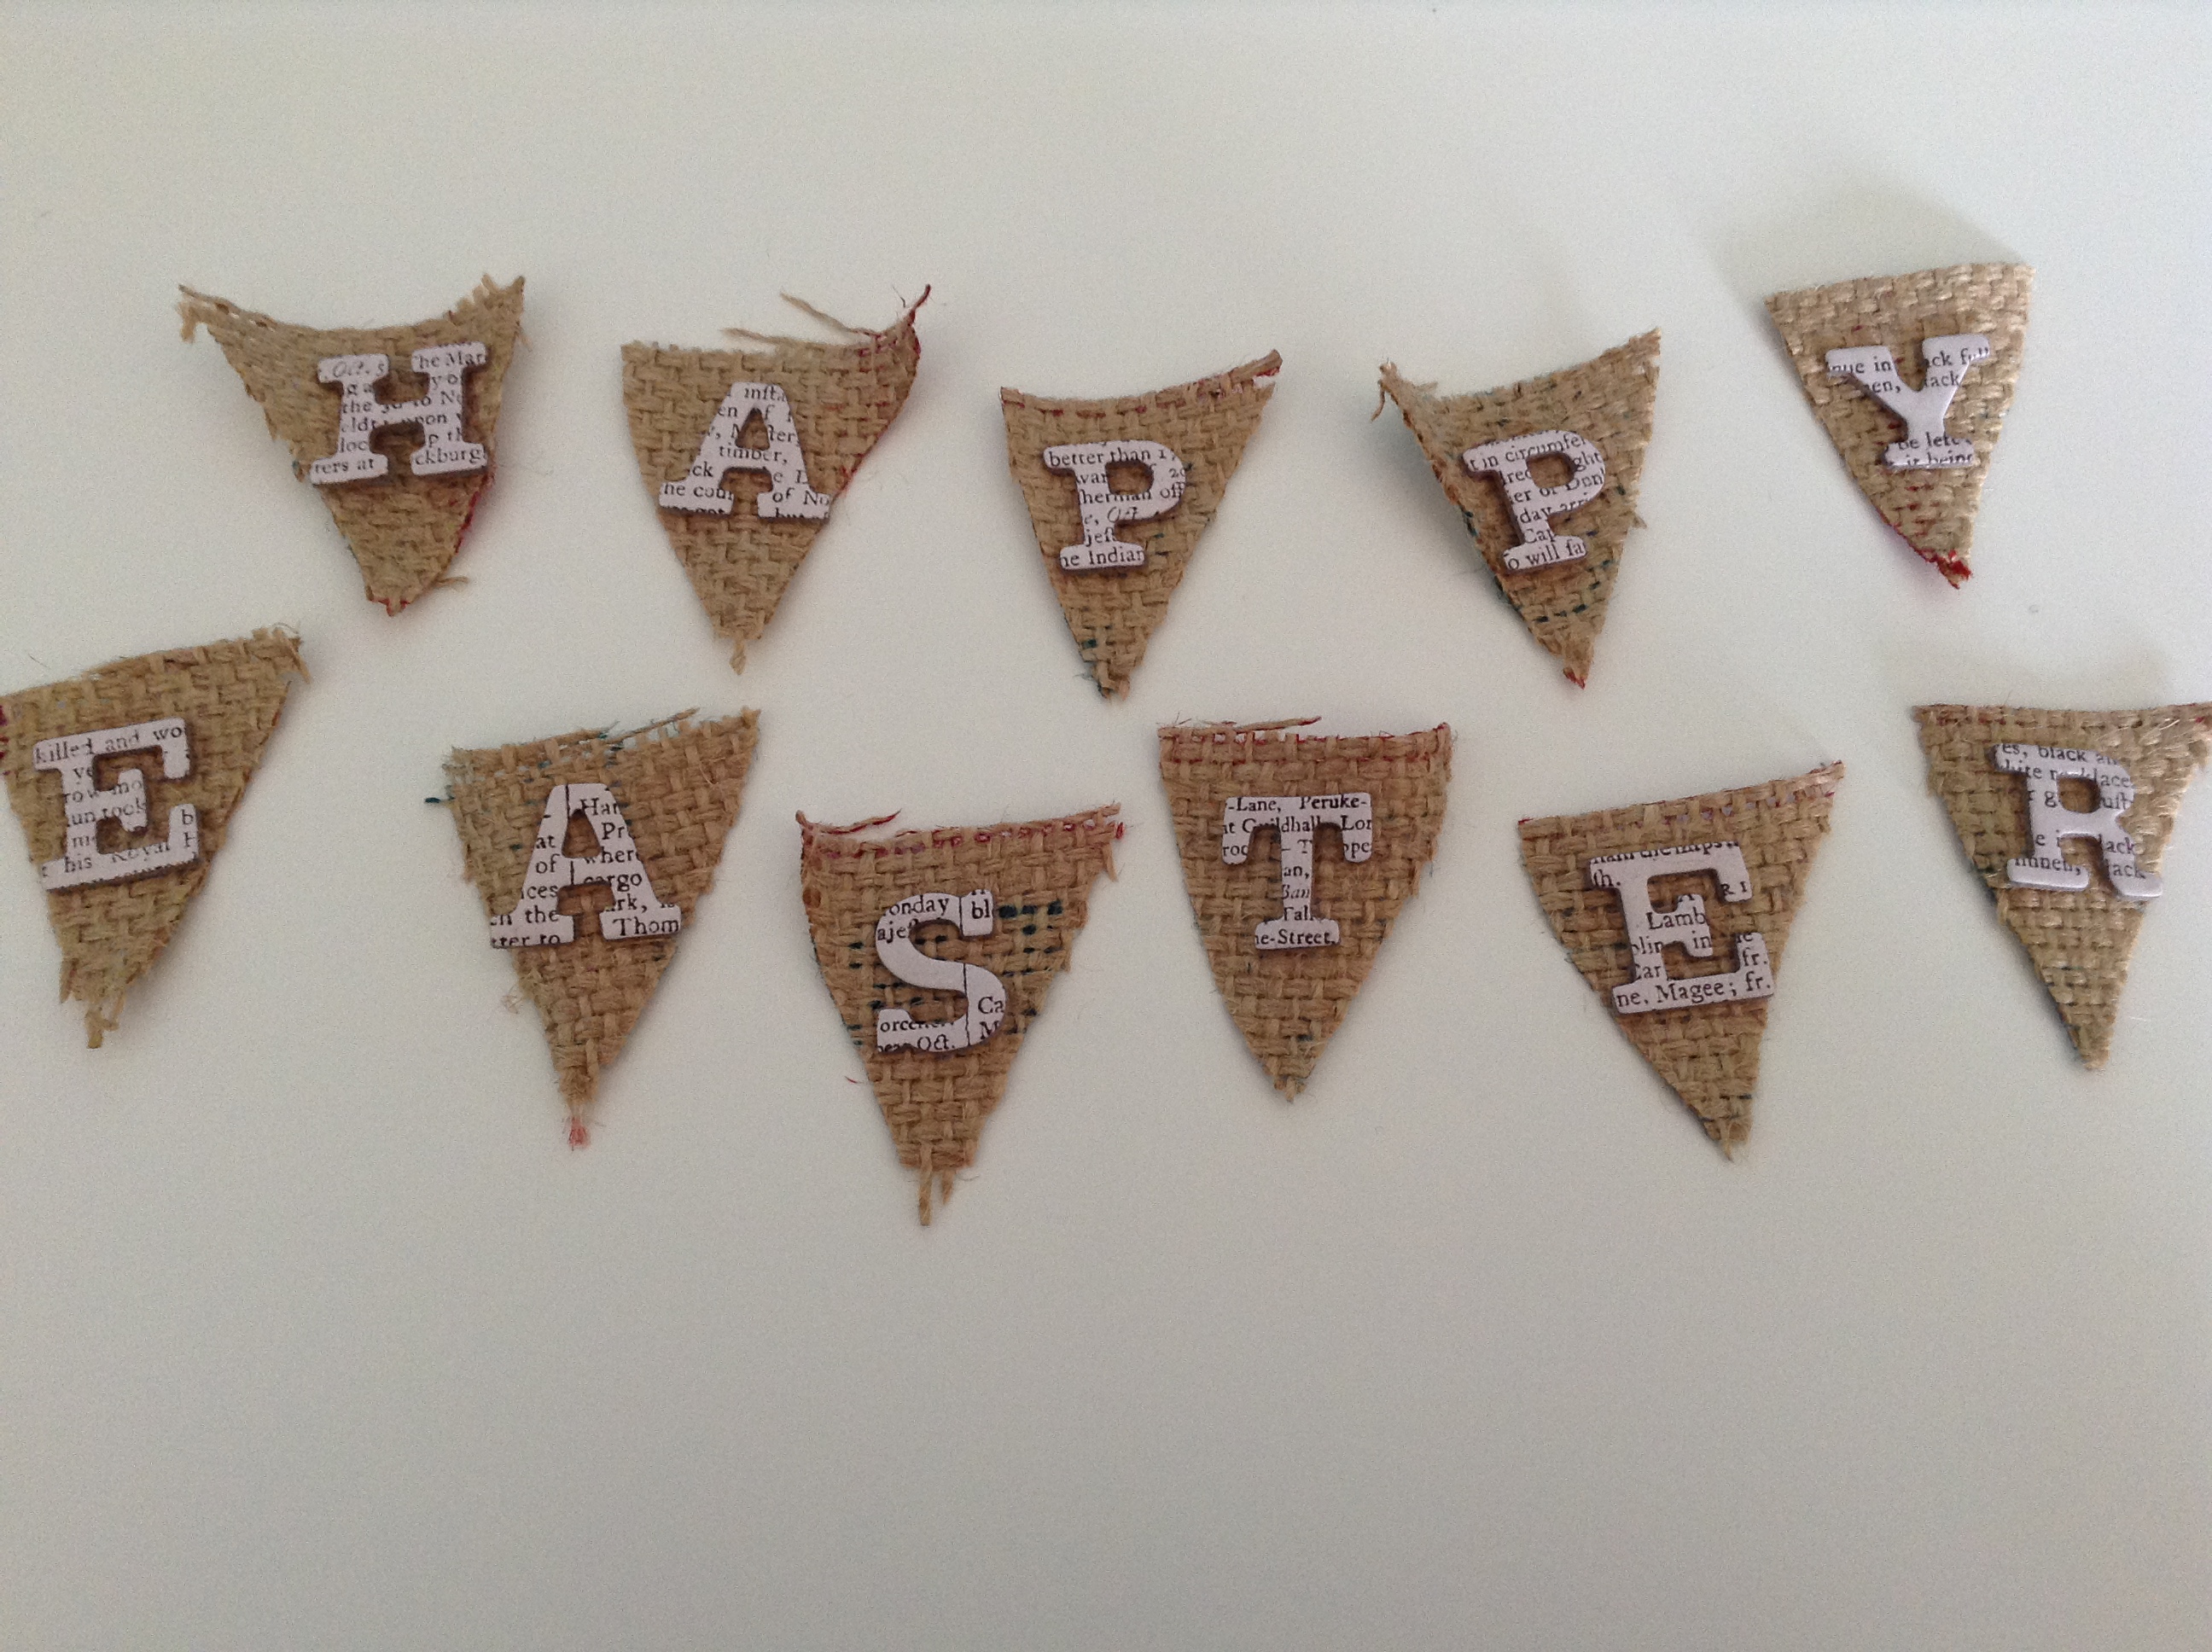
Apply letter stickers to each triangle.

Then grab the yarn you made your pom poms with.

Measure about 8-10in of yarn, and cut a piece of each color and then twist them together.

Attach them to the wreath with your glue gun. You don’t have to worry about the yarn appearing, because you will be covering it with the pom poms.

Then glue your triangles to the yarn, and attach the pom poms to the end of the yarn.


Done!
Just have fun and be creative with it! I hope you enjoyed this tutorial.
TrackBack URL
http://thisoneblog.welchworks.com/diy-easter-wreath/trackback/