

This art is really easy and a cute way to add something new to a room! And I am sure pretty much every girl has nail polish so you probably have everything you need. Here is how to make it.
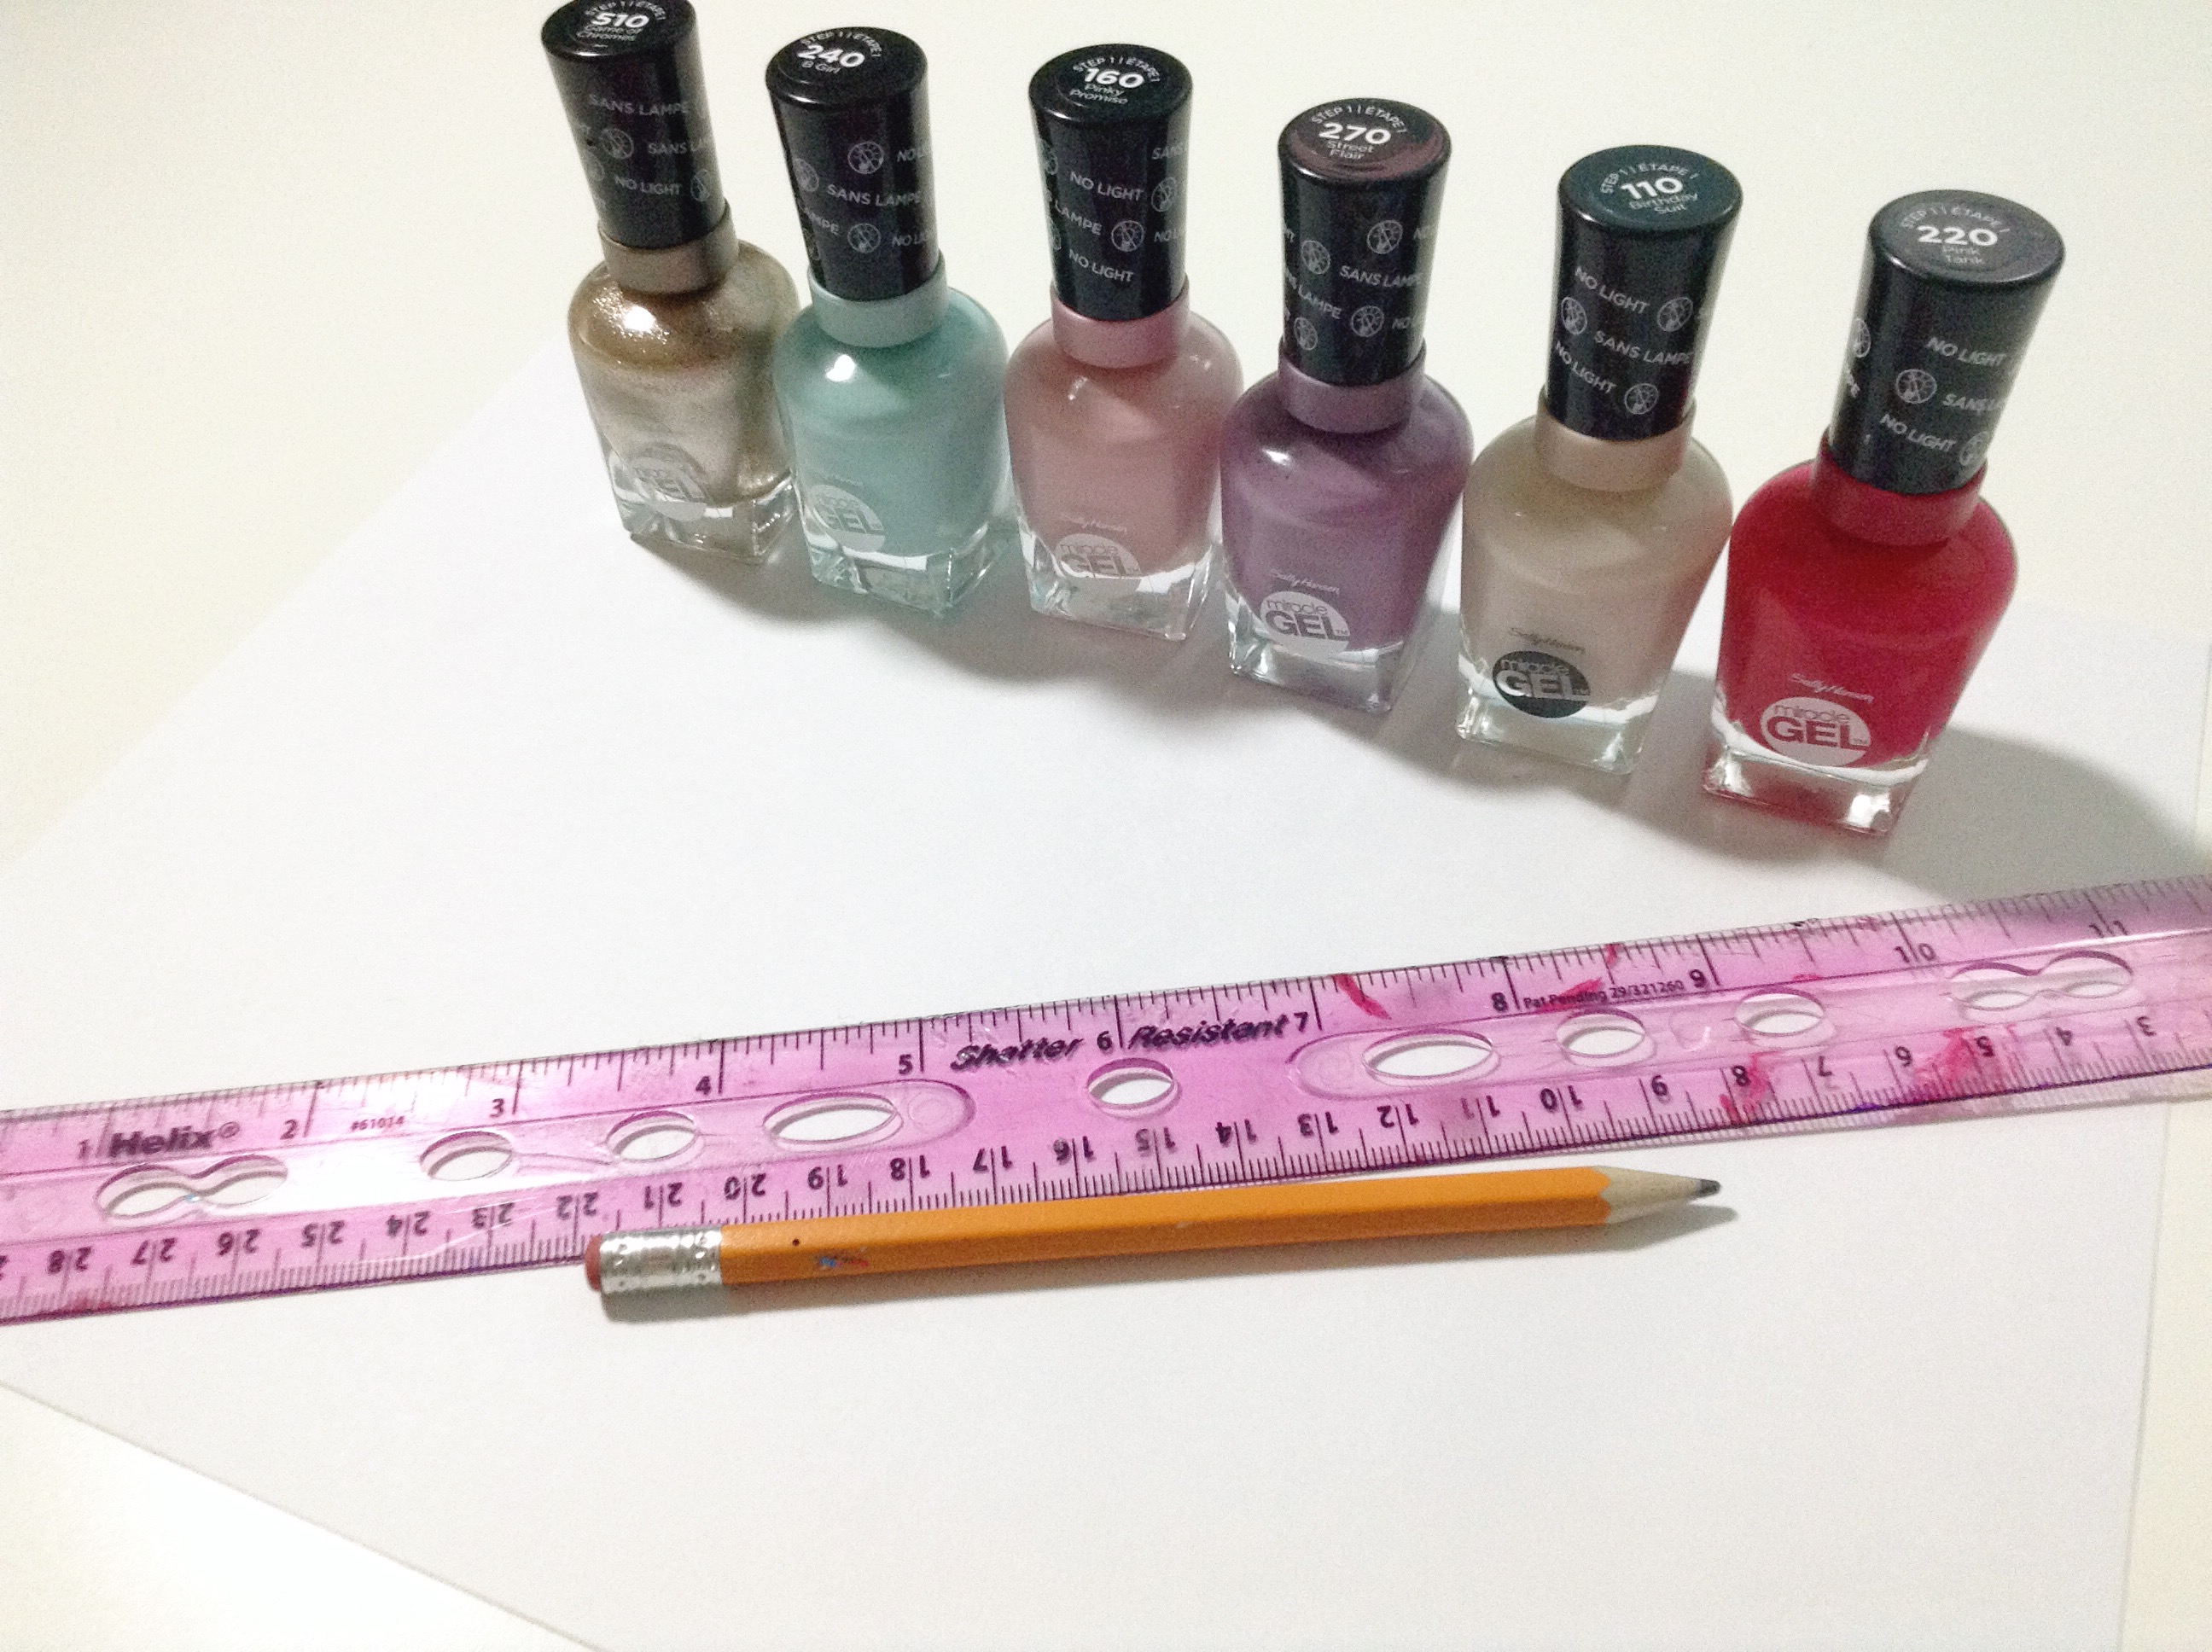
You need nail polish (I used Sally Hansen’s Miracle Gel), a ruler, pencil, and piece of white cardstock.

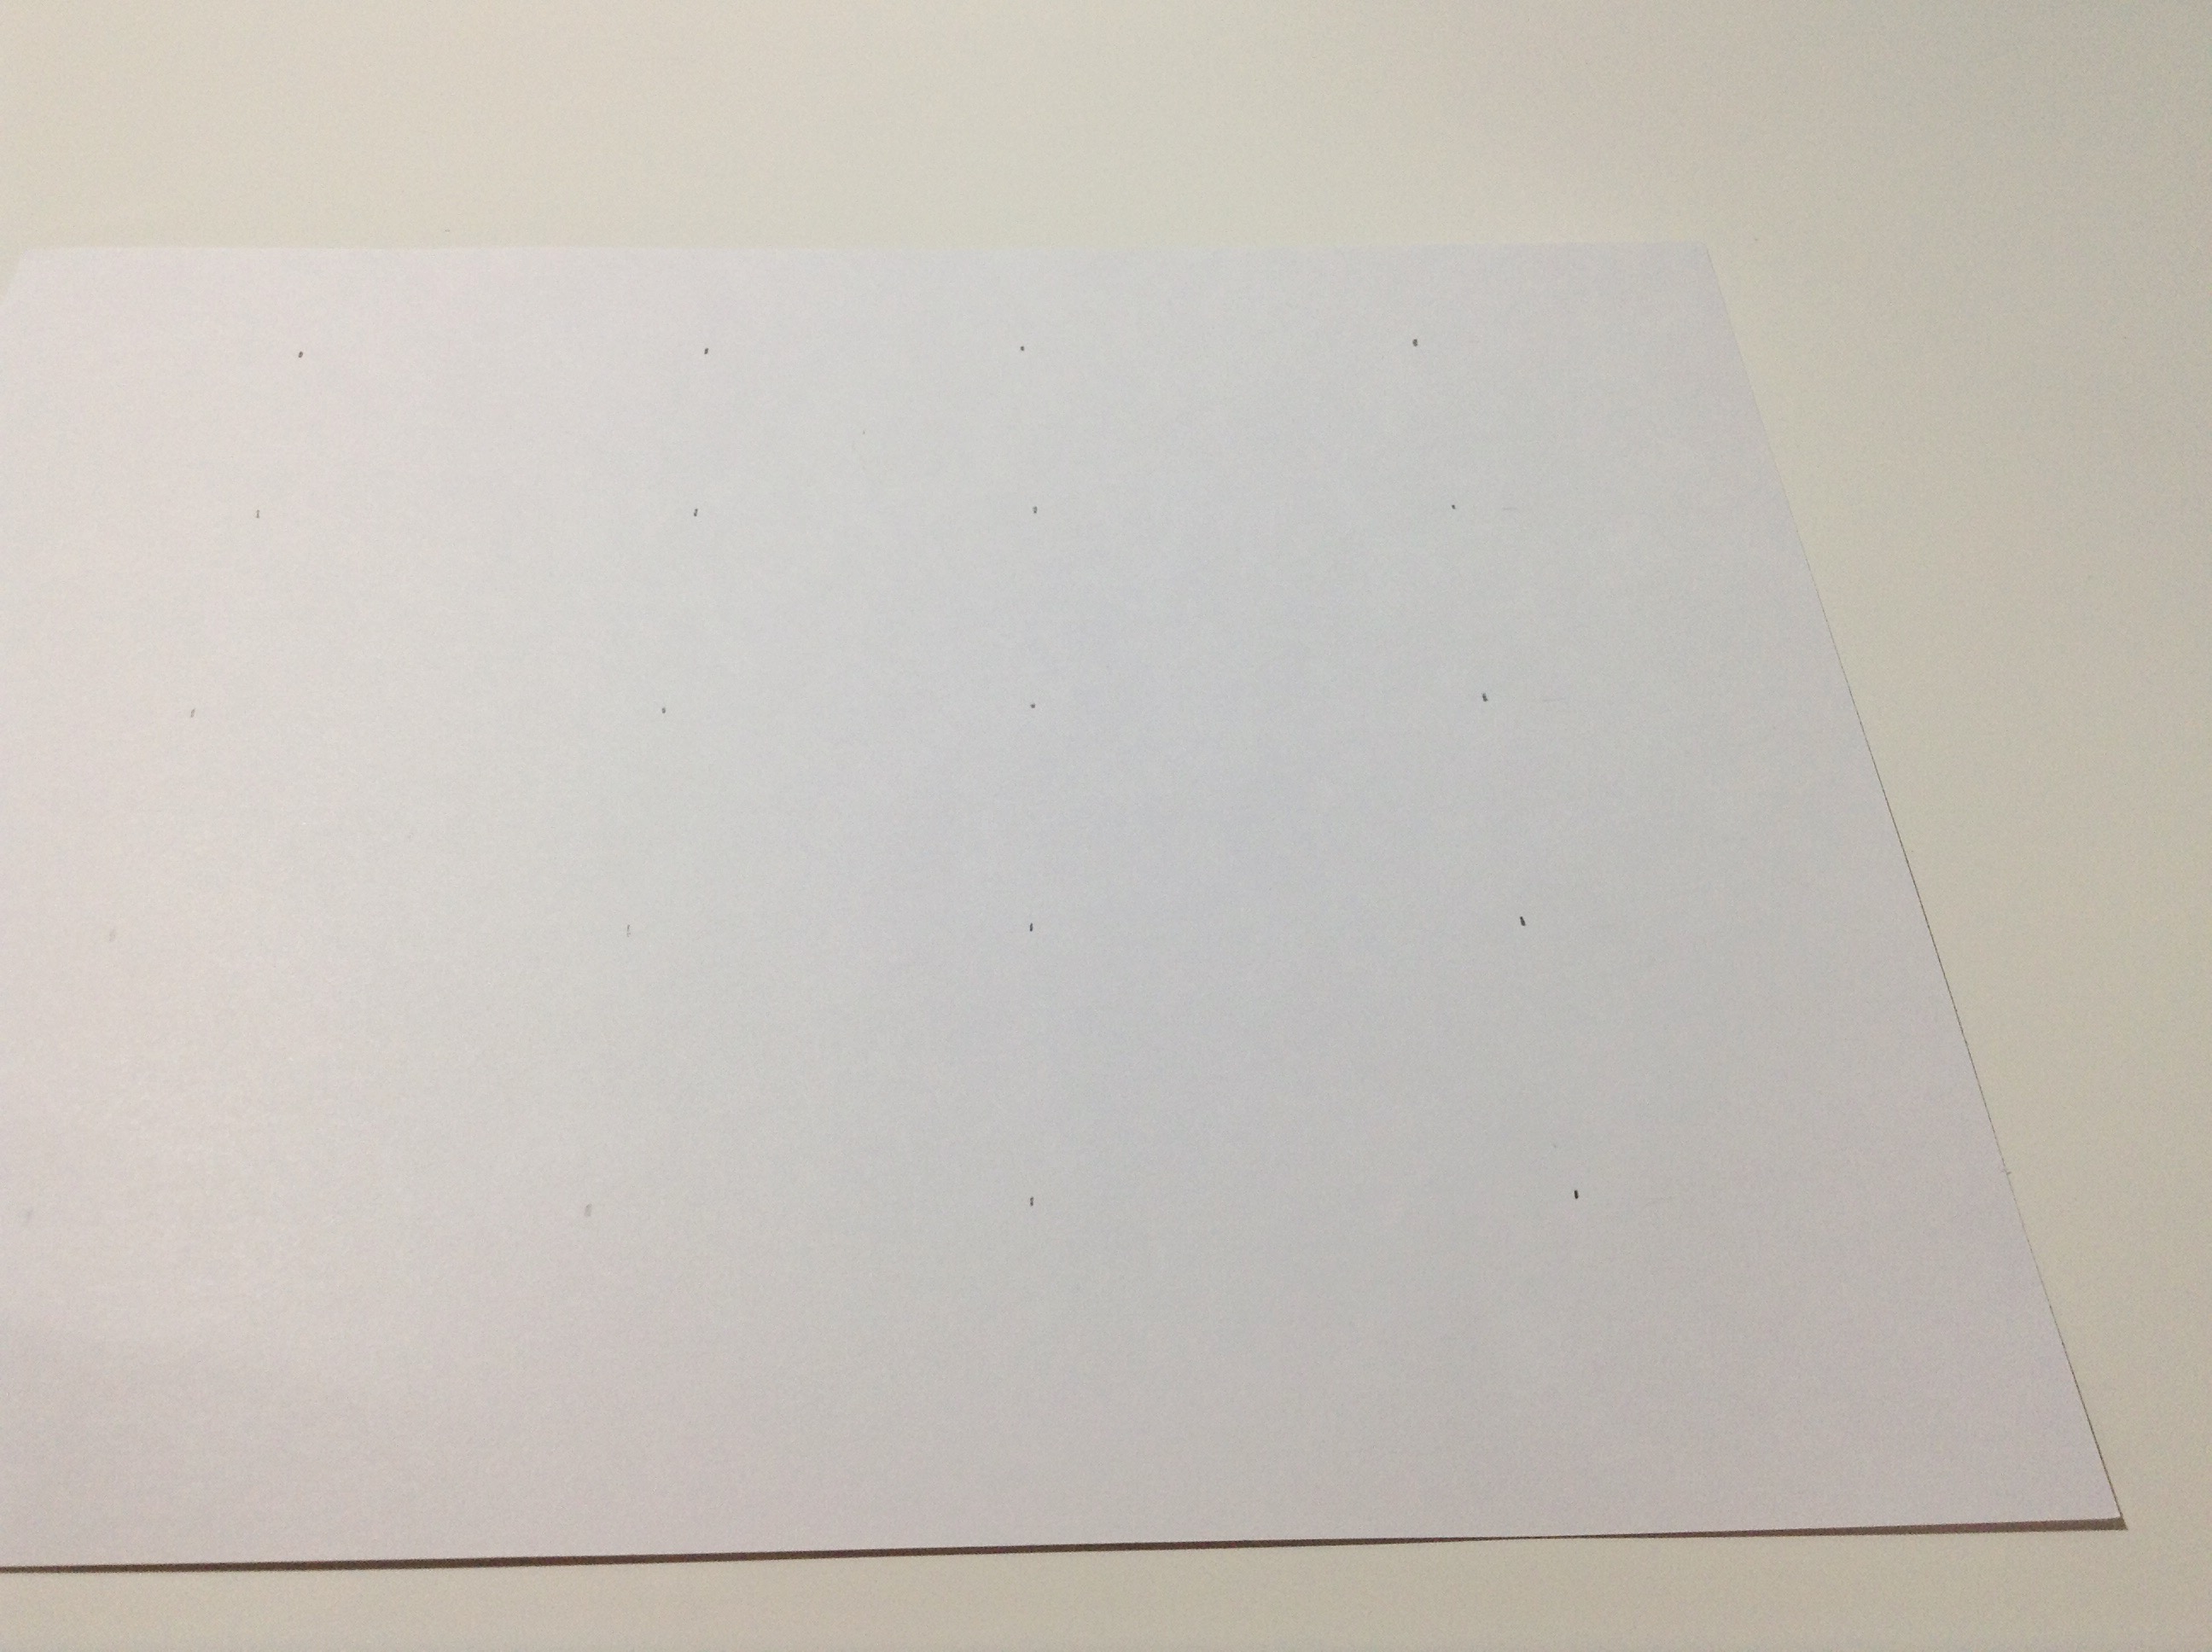
For the length you want to make faint marks with your pencil at 1, 2 1/2, 4, 5 1/2, and 7 inches.

For the width mark 2 1/2, 4 1/2, 6 1/2, 8 1/2, and 10 inches.
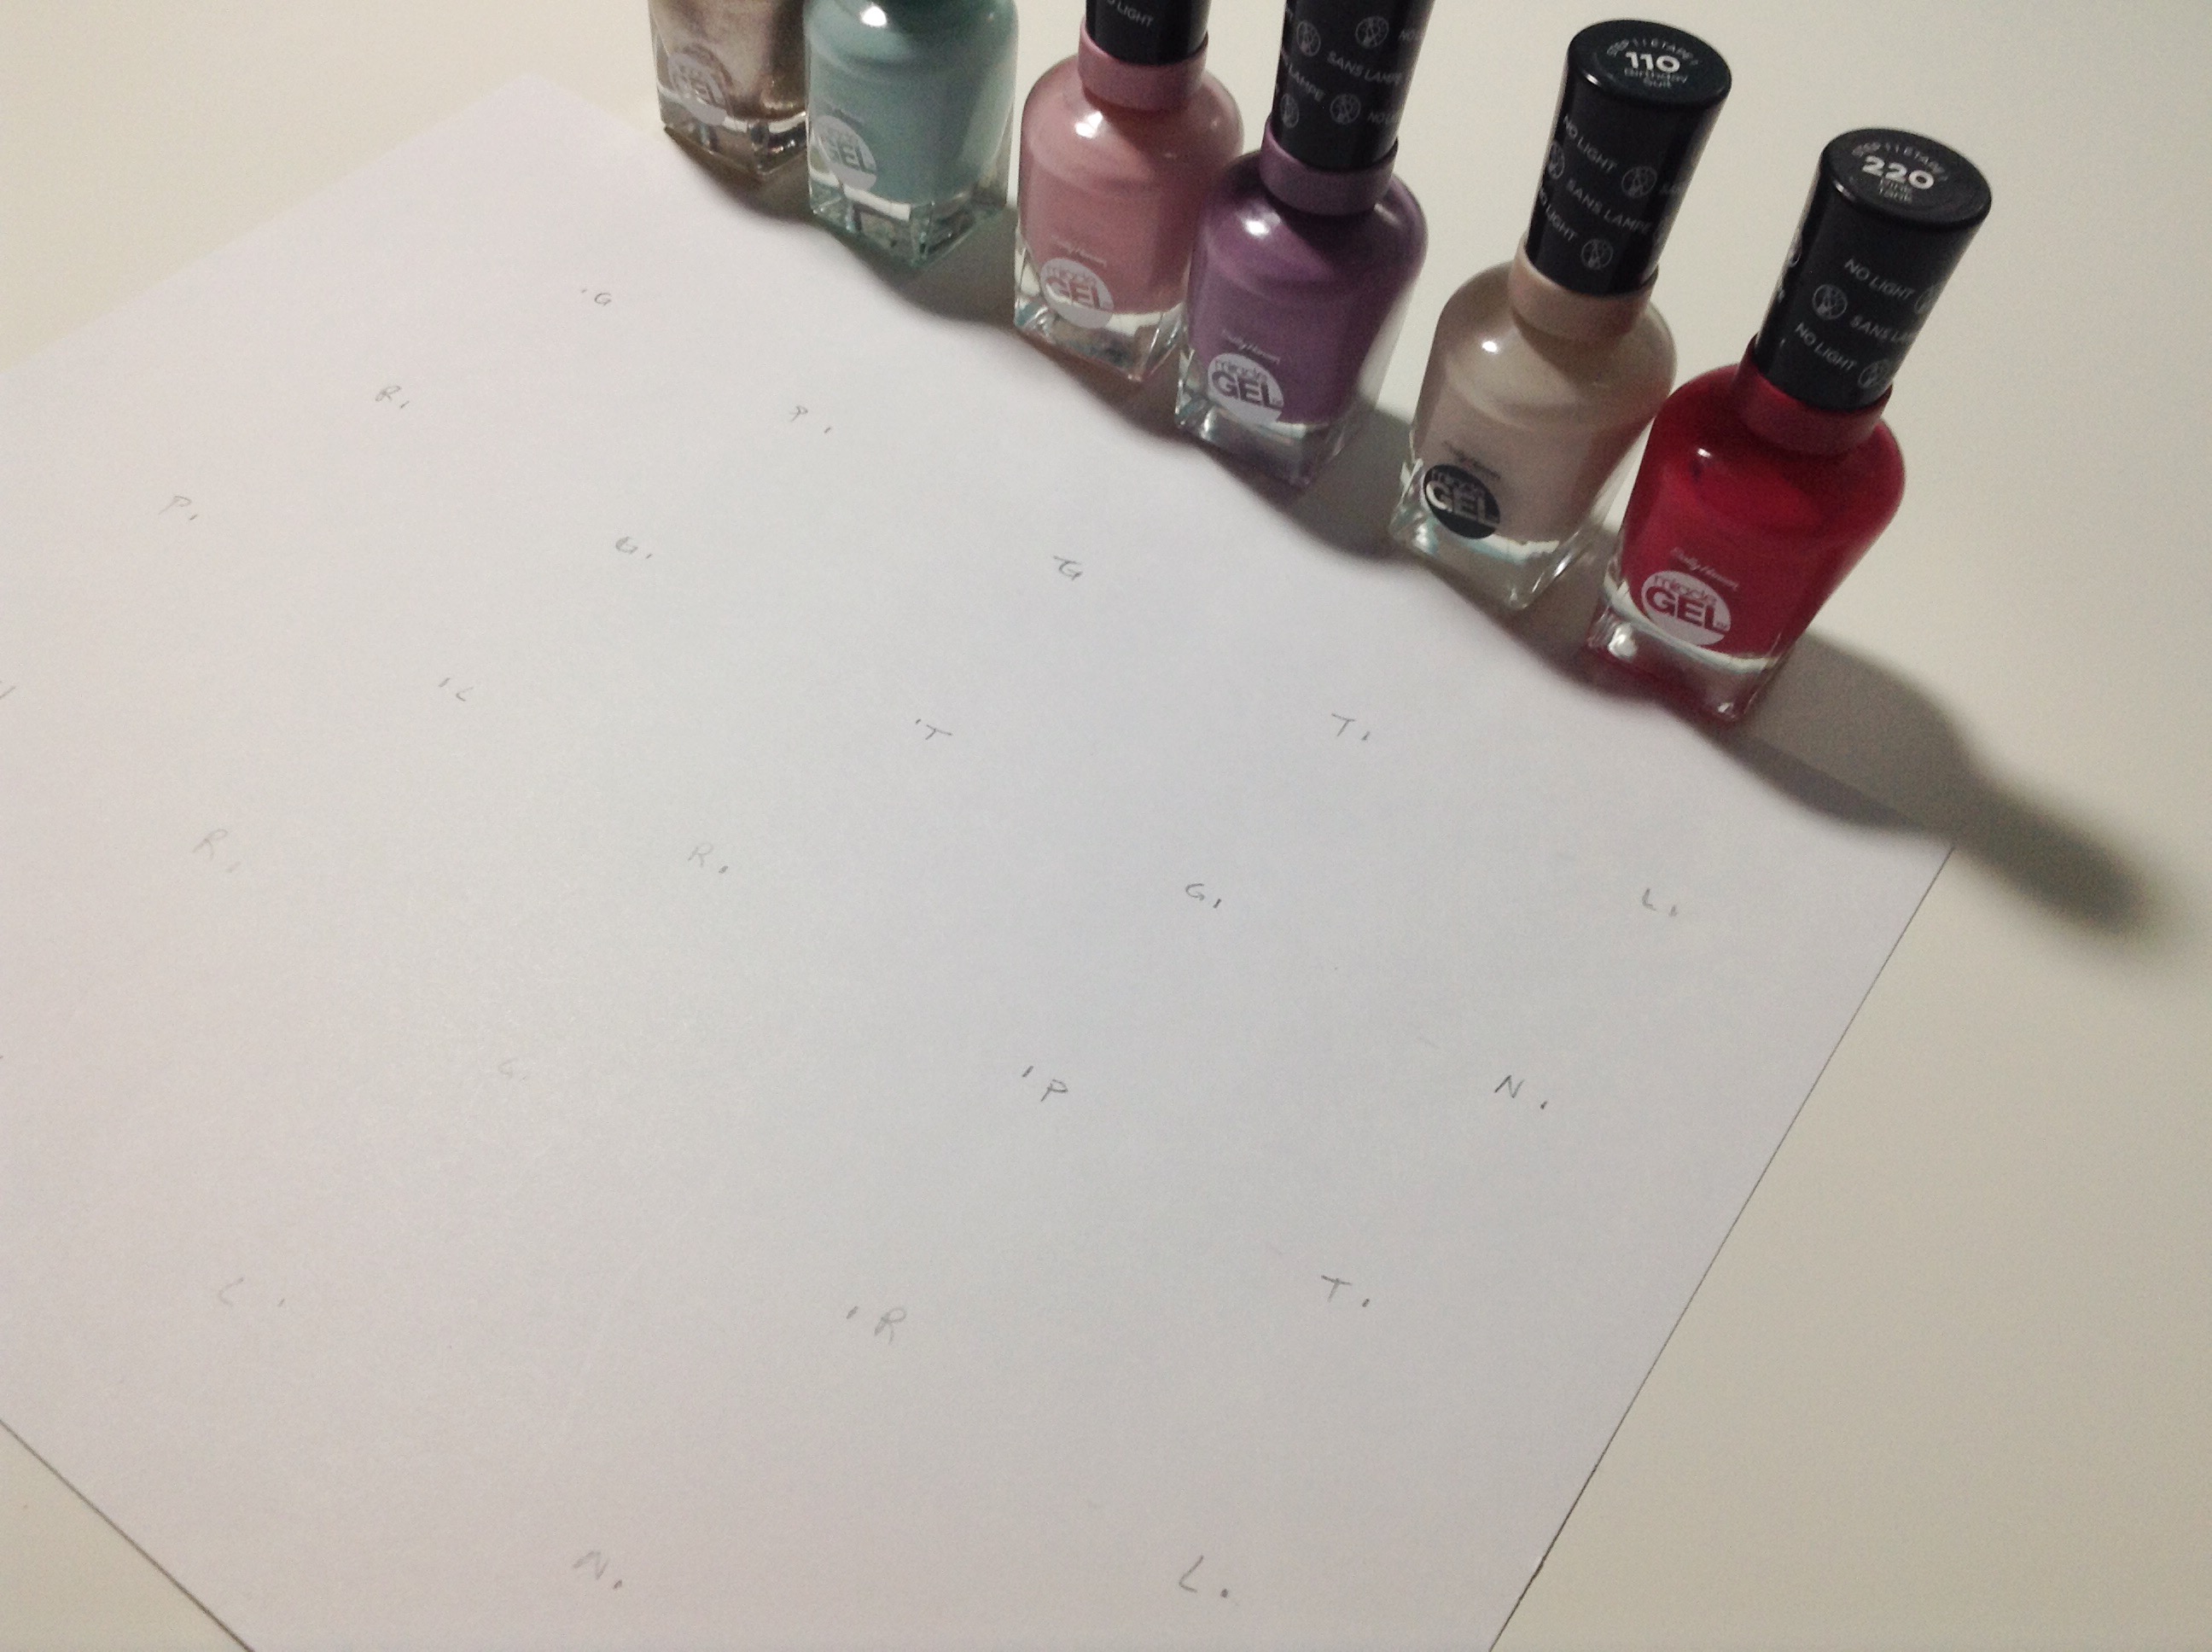
Then you will want to plan what color goes where. I just put the letter of the color by the mark.

For me the first was gold.
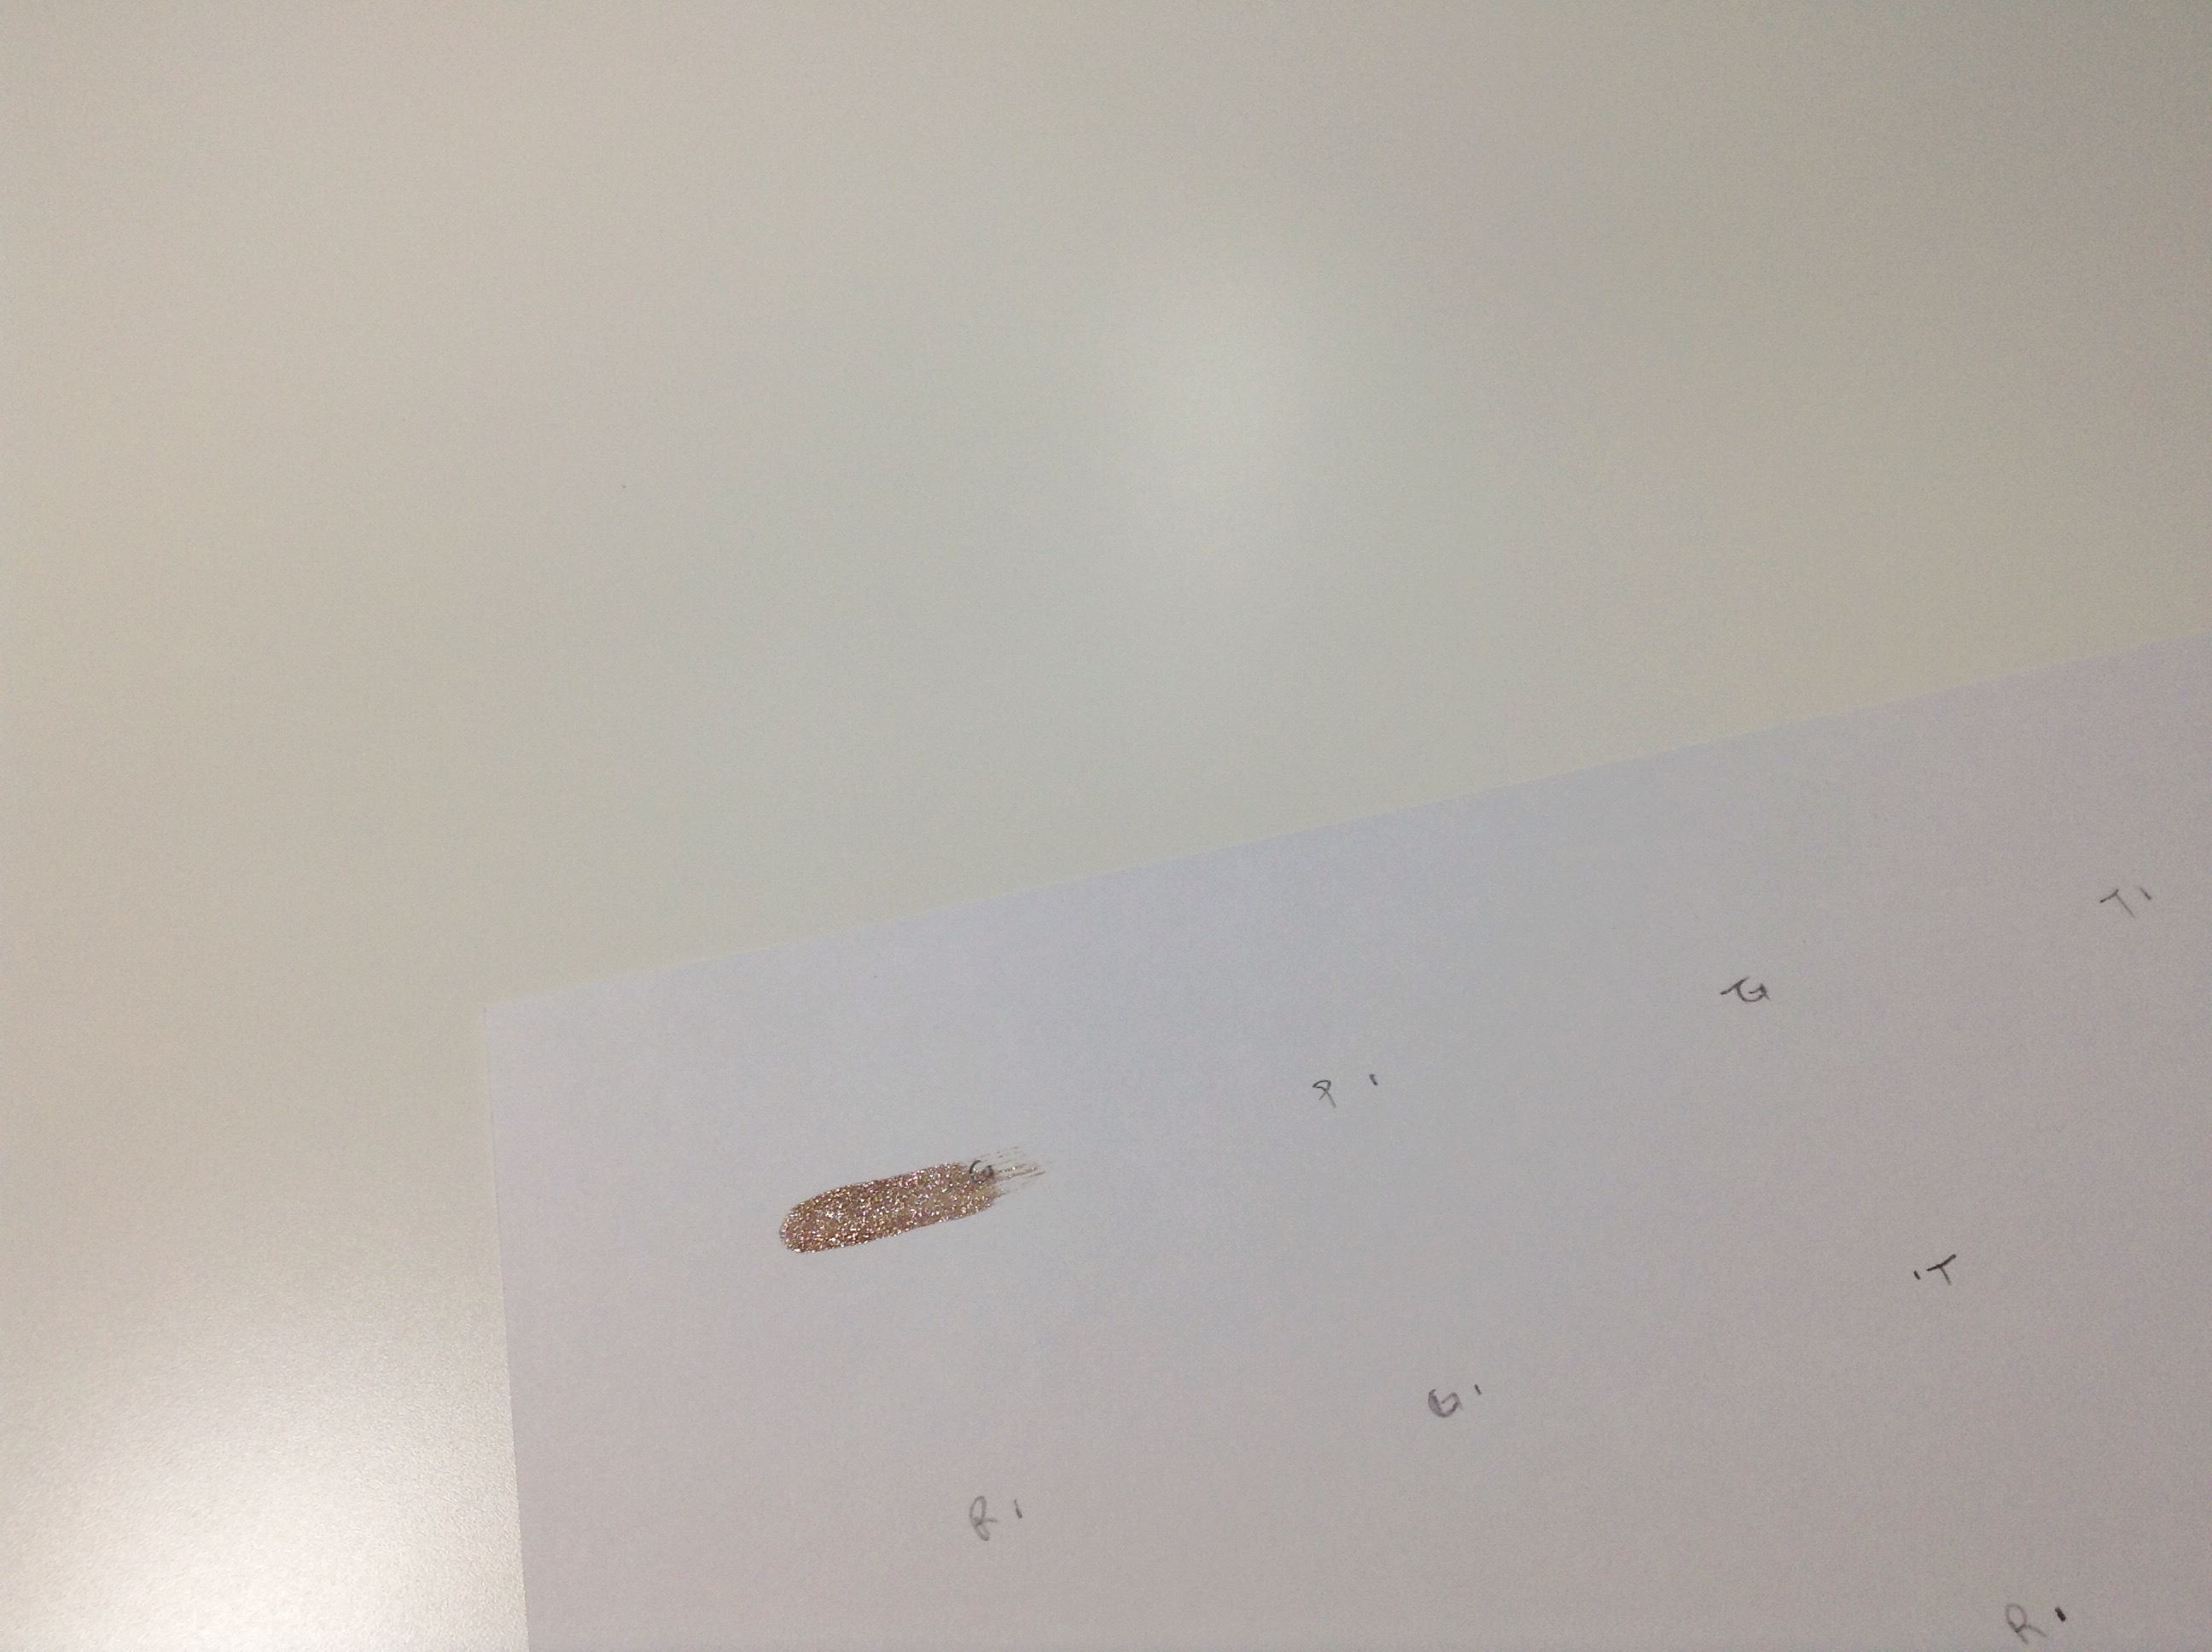
Start by applying a dot of nail polish and drag it out.

Until it is about 1 inch in length.
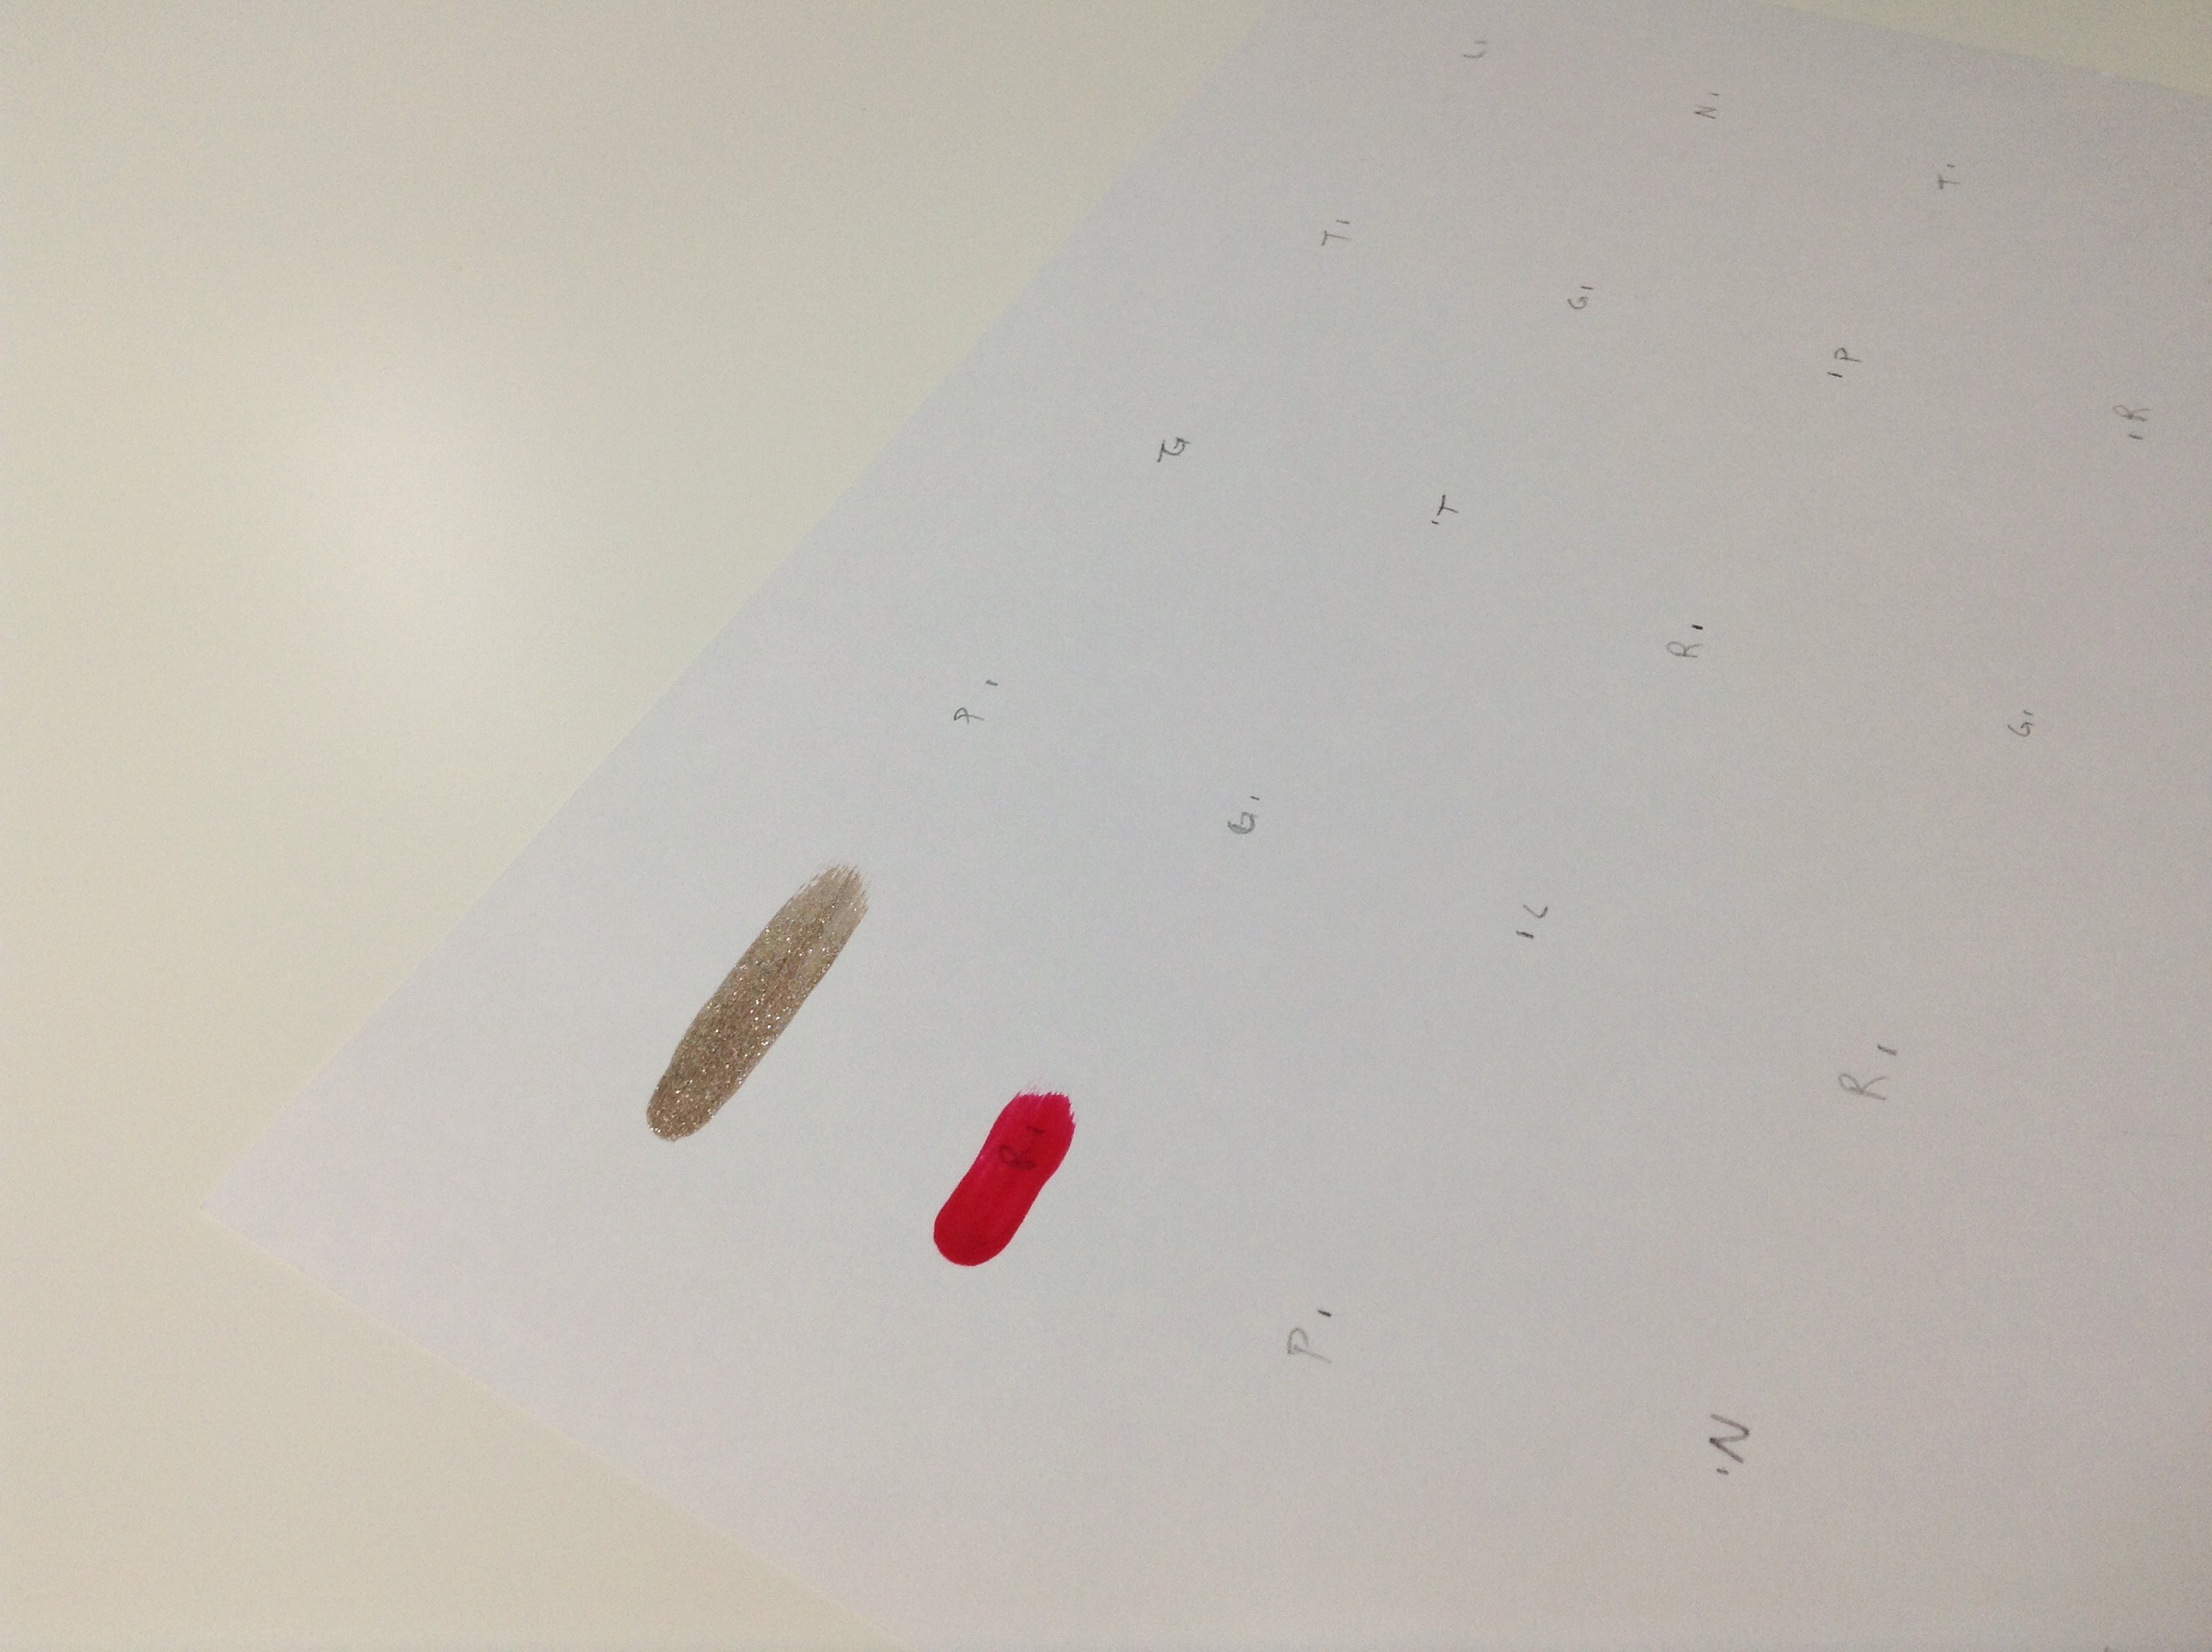
Next was red.

This is the first row.
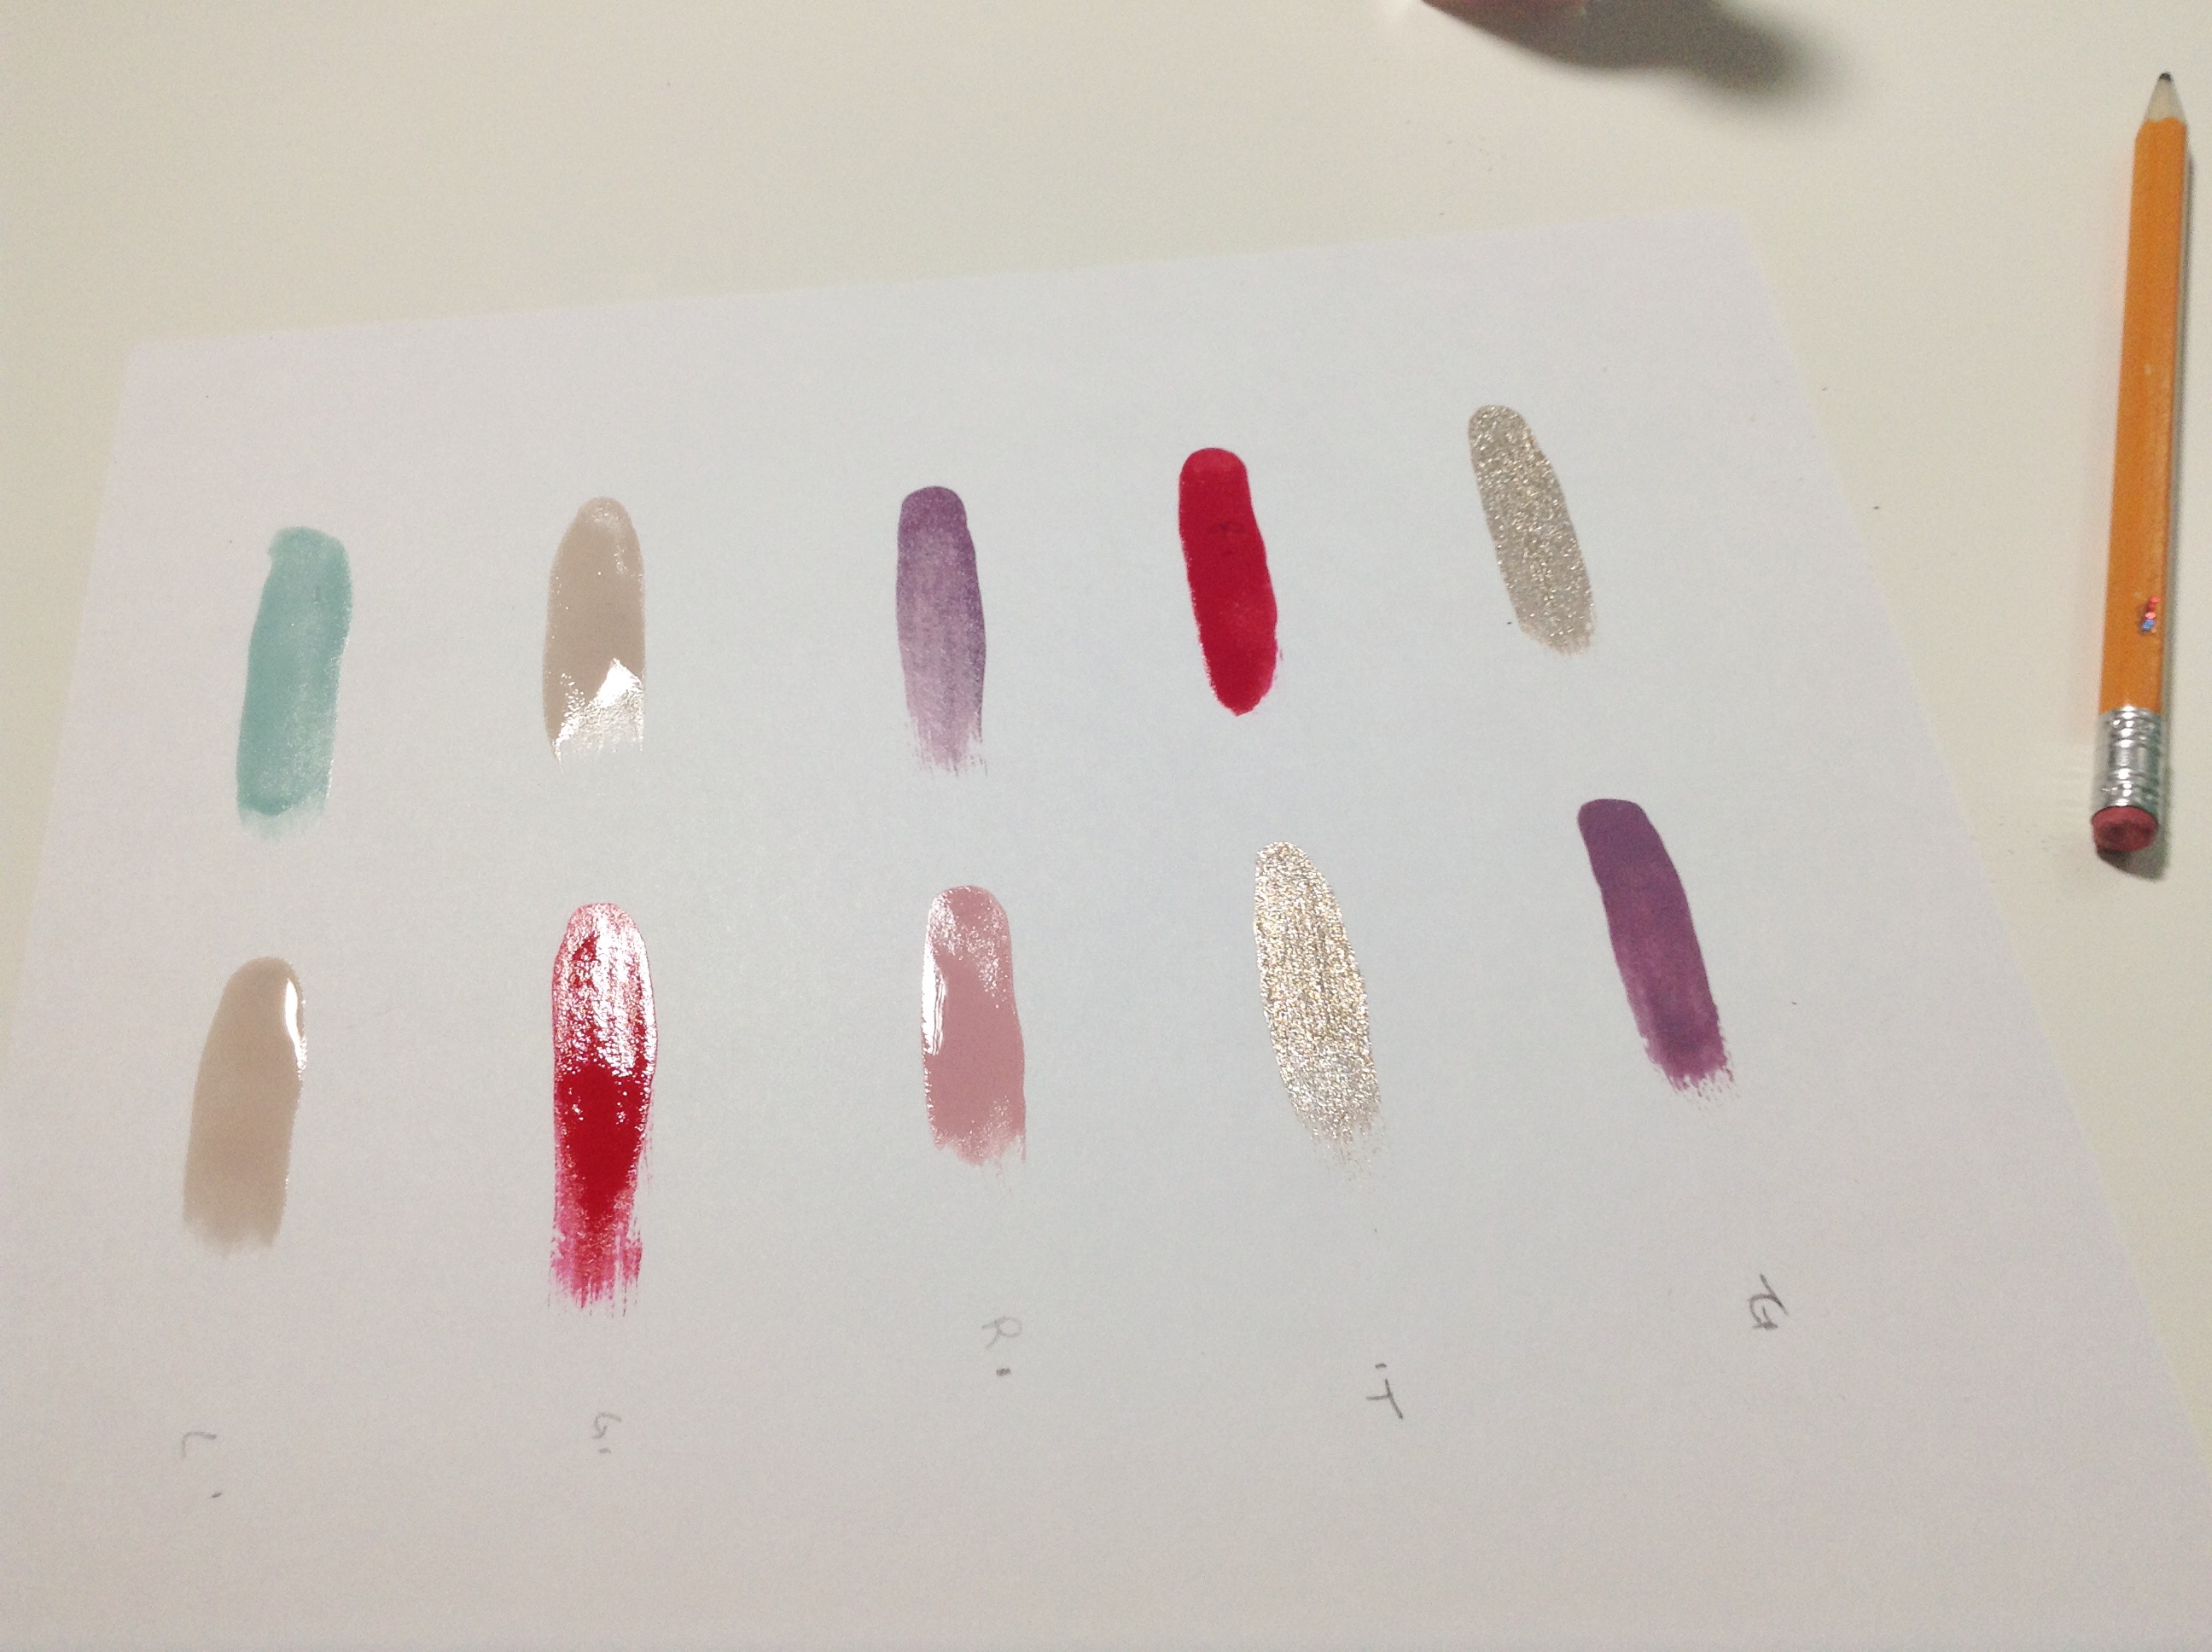
Second row.

Third row.
Done!

I hope you enjoyed this tutorial!
